HygieneTouch Dispenser Installation
The dispenser has a shuttle in the middle which easily moves to left and right. The movement is facilitated by the help of a handle which extends from the shuttle through a slot on the side. Moving the handle fully to the right loads a new diaphragm cover. Once the cover has been used, slide the handle to the wall units far left. Repeat loading by sliding the handle to the right.Install the wall bracket, using screws and anchors provided. Make two holes with the correct drill bit size. Make sure your marks are horizontally level before drilling the required holes.
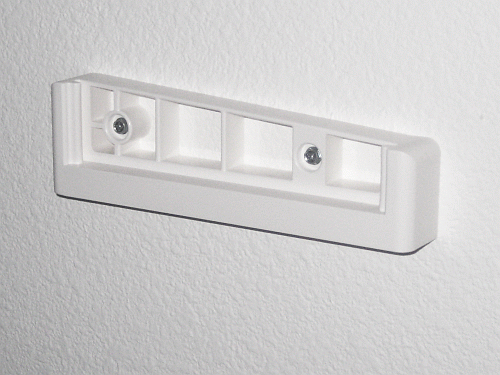 (Fig. 1)
Insert the dispenser's grooves into the male guides on the bracket.
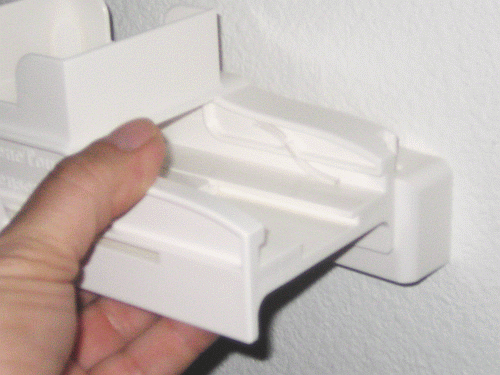 (Fig 2)
The wall unit is now ready to receive a HYGIENETOUCH package which comes in packs of 20 rims.
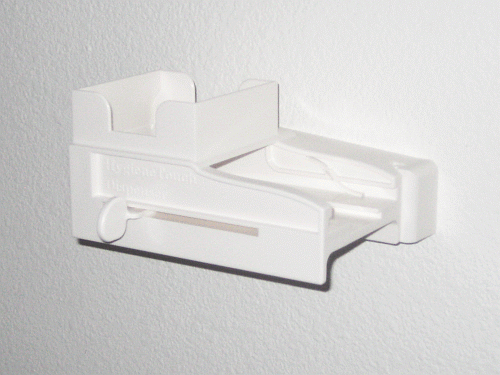 (Fig 3)
Remove protective shrink wrap and insert HYGIENETOUCH box.
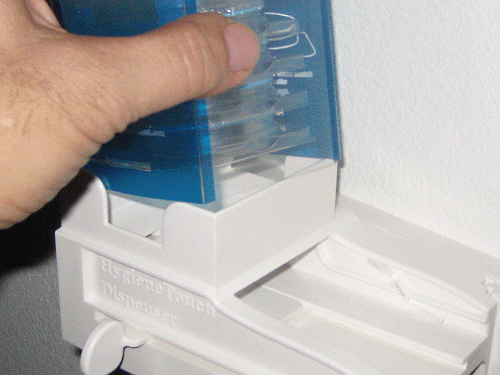 (fig 4)
The dispenser already loaded with a 20 piece pack.
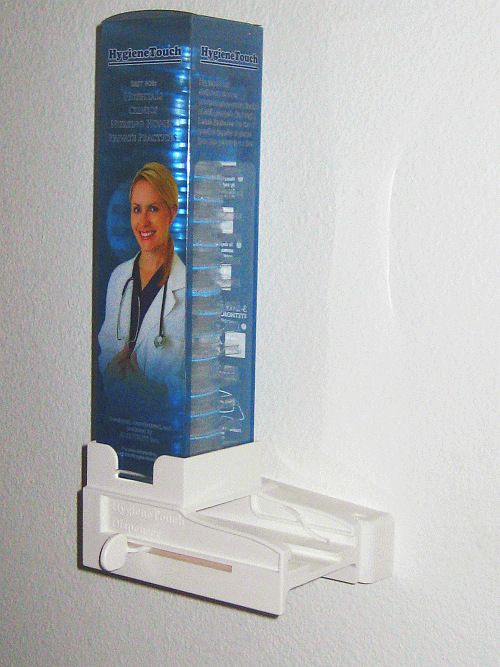 (Fig 5)
Release the rims by removing the release or pull tape.
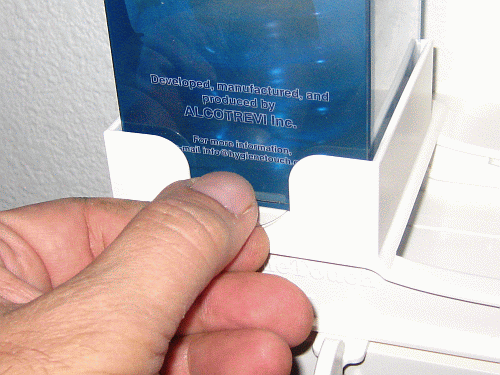 (Fig 6)
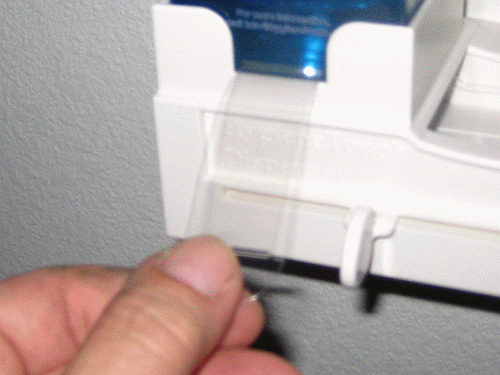 (Fig 7)
 Transfer the cover from the rim to your stethoscope diaphragm by touching the flat surface of your stethoscope diaphragm to the cover. A slight vertical force on the HygieneTouch cover will transfer the polyethylene barrier onto your stethoscope. (Fig 8-11)
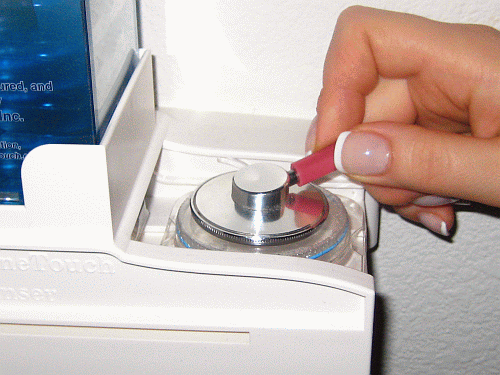 (Fig 8)
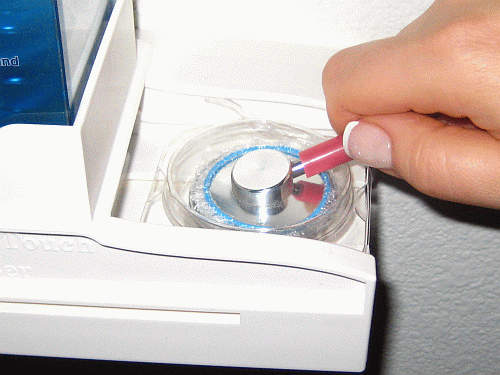 (Fig 9)
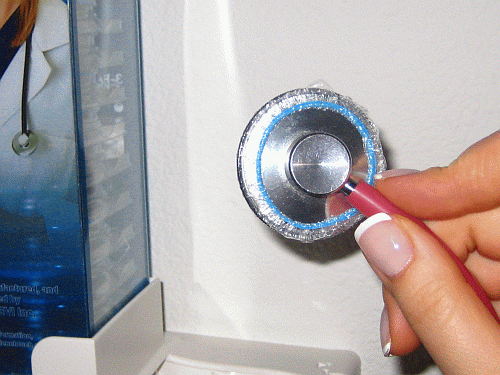 (Fig 10)
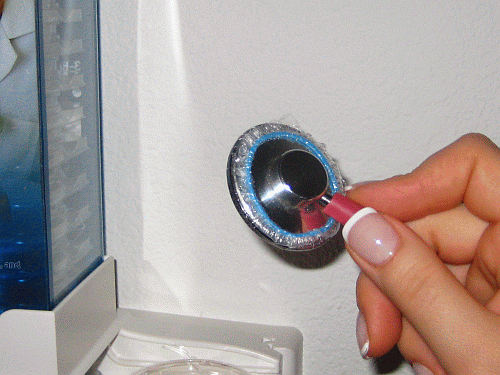 (Fig 11)
These covers are easily removed after being used on a patient's body.
Disposable Stethoscope Diaphragm Cover
 Hygiene Touch Stethoscope cover reduces cross contamination and effectively aids in stethoscopes' diaphragm hygiene. Decreasing the risk of possible transfer of germs from one person's body to another.
